 View on GitHub
 Integration in a Xamarin Project Reference
Integrate the Gini Capture SDK in a Xamarin project
Requirements
- Xamapod
- Visual Studio
1. Creating the fat libraries and the binding files
After cloning the Xamapod tool repository and installing all its dependencies, run the following command:
sh build -p GiniCapture -s Networking -l https://github.com/gini/gini-podspecs,https://github.com/CocoaPods/Specs.git
The -l option ensures that the tool refers to our cocoapods repository to which the Gini Capture SDK is deployed.
Check the Integration guide for further information about the possible subspecs (-s).
Once it finishes, you can find all the generated binding files inside the Generated folder.
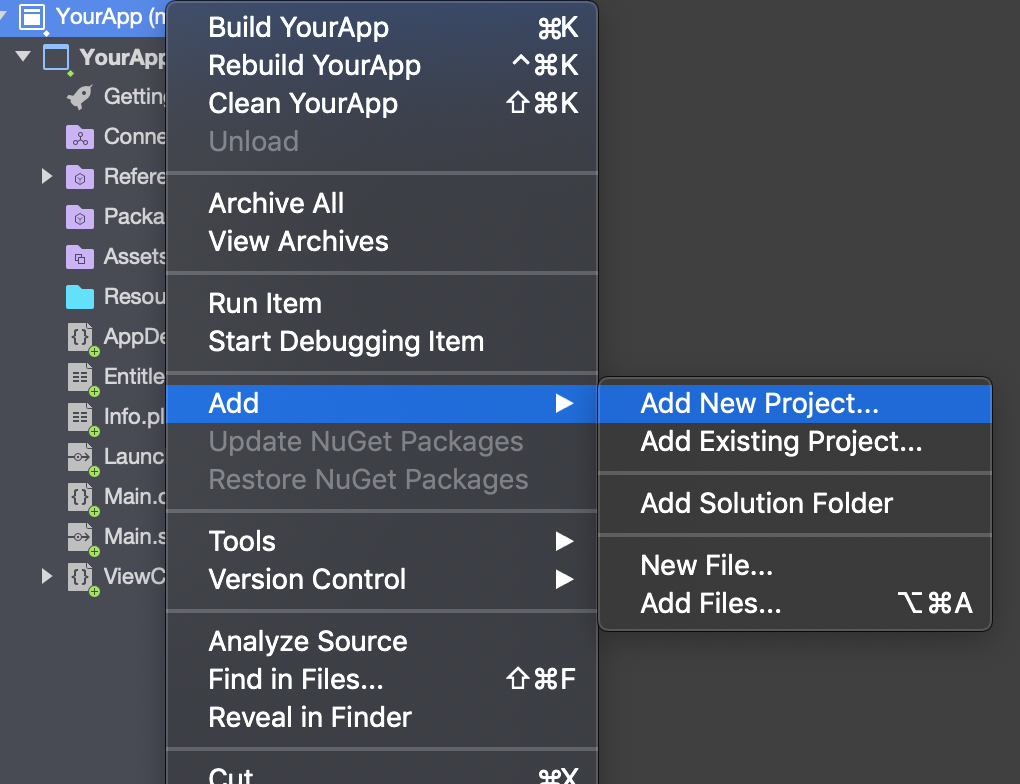
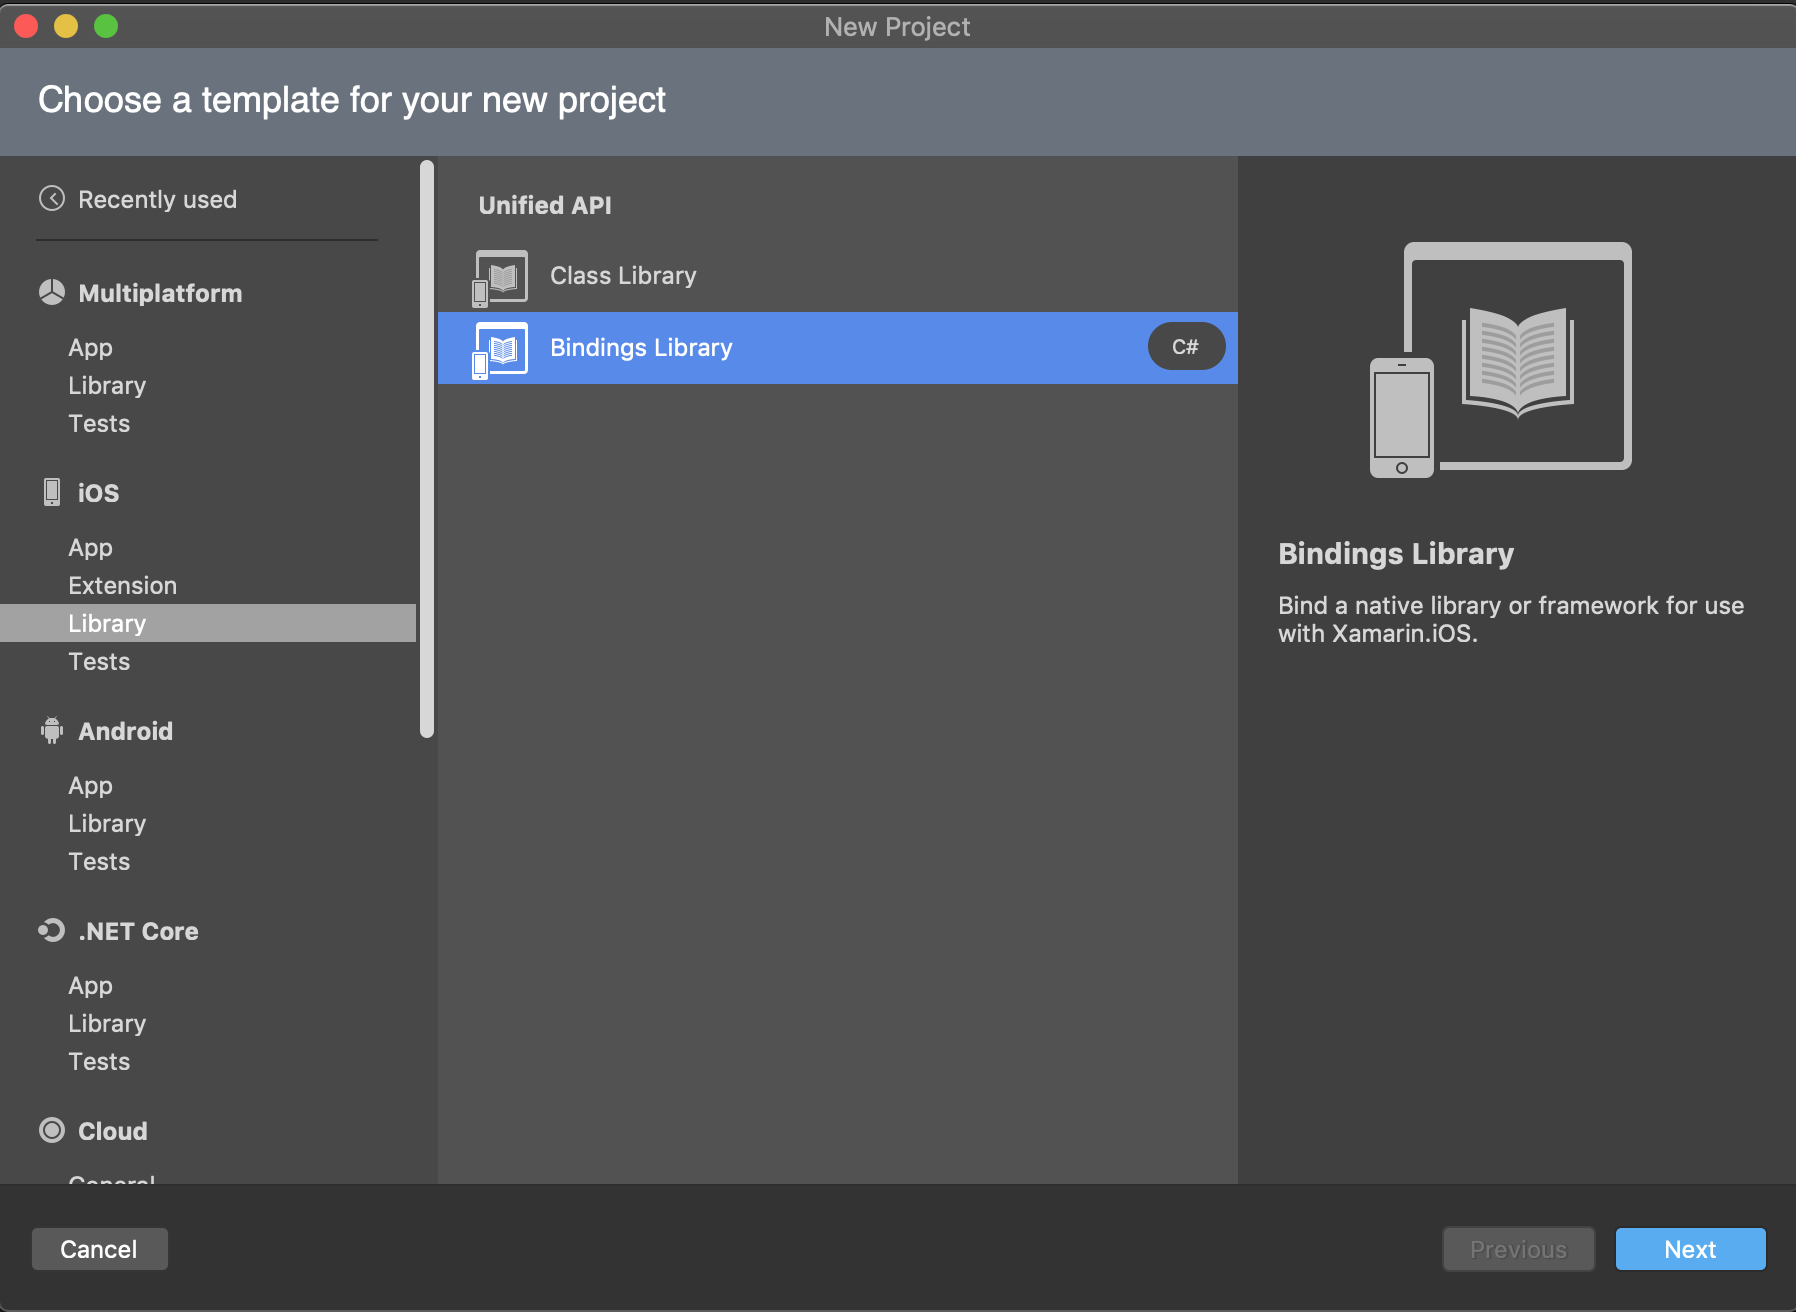
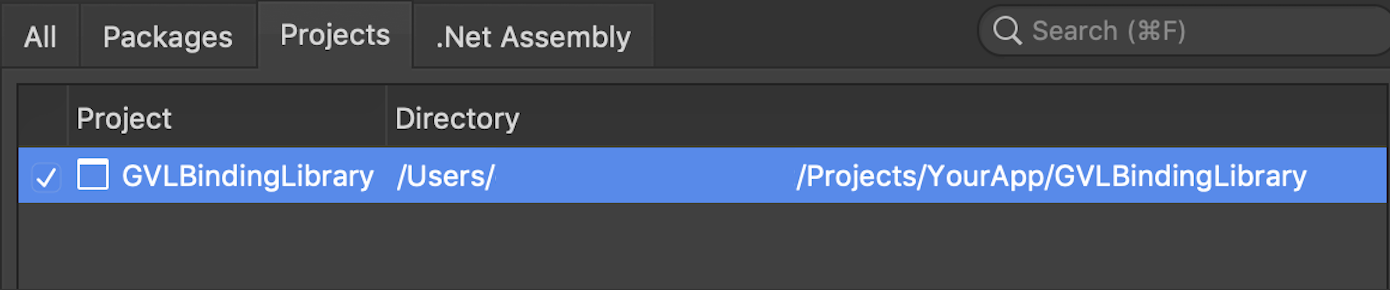
2. Creating a binding library
Open your app project in Visual Studio and create a binding library.
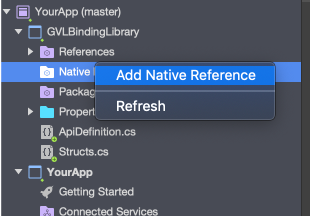
Copy all the fat libraries (.framework) generated in the previous step and paste
them somewhere inside the created binding library directory (this will prevent any
issues with the linking). Add them to the binding library in Visual Studio, as follows:
Go back to the Generated folder, copy the content of the ApiDefinitions.cs file and paste it inside the ApiDefinition.cs file in the Binding library. Do the same for the StructsAndEnums.cs file.

At this point, if you try to build the binding library, it will give you some errors because sometimes Objective sharpie cannot find the proper bindings (here you have a complete reference where you can find the correct definition for every type). A working example of these definition files can be downloaded here.
3. Reference the Binding library in your app project
Now that the binding library has been built, it has to be referenced inside your app. To do so, add it as a reference.
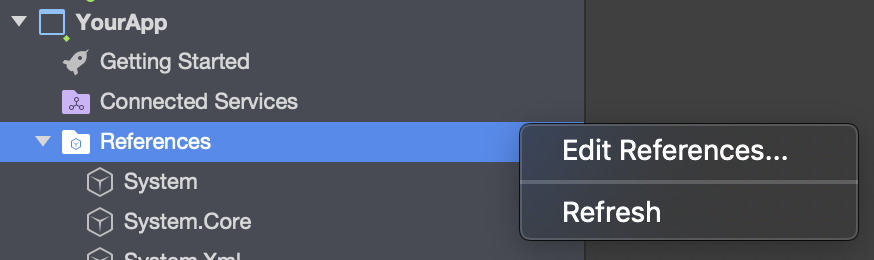
It is necessary to add the Swift library packages in your app (and not in the binding library). You can find the required libraries in the Xamapod build ouput.
