Testing
Requirements
Example banking app
An example banking app is available in the Gini Bank SDK
repository called example-app.
You can use the same Gini Merchant API client credentials in the example banking app as in your app, if not otherwise specified.
Development Gini Merchant API client credentials
In order to test using the Gini Bank SDK’s example banking app, you will need to use development client credentials in your app for the Gini Merchant SDK. This will make sure the Gini Merchant SDK receives test payment providers that work with the Gini Bank SDK’s example banking app.
End to end testing
Example banking app
After you’ve set the client credentials in the Gini Bank SDK example app you can install it on your device by using the
devPaymentProvider1Debug build flavor. This will allow the Gini Merchant SDK to detect it as the banking app for
the Gini-Test-Payment-Provider.
Note
You can also install the Gini Bank SDK example app’s devPaymentProvider2Debug and devPaymentProvider3Debug build
variants to test with two additional example banking apps named GiniBank and Bank.
Payment fragment
By following the flow guide you should be showing the PaymentFragment when wanting to pay an order. The following screenshot shows a sample invoice for which
the PaymentFragment is shown.
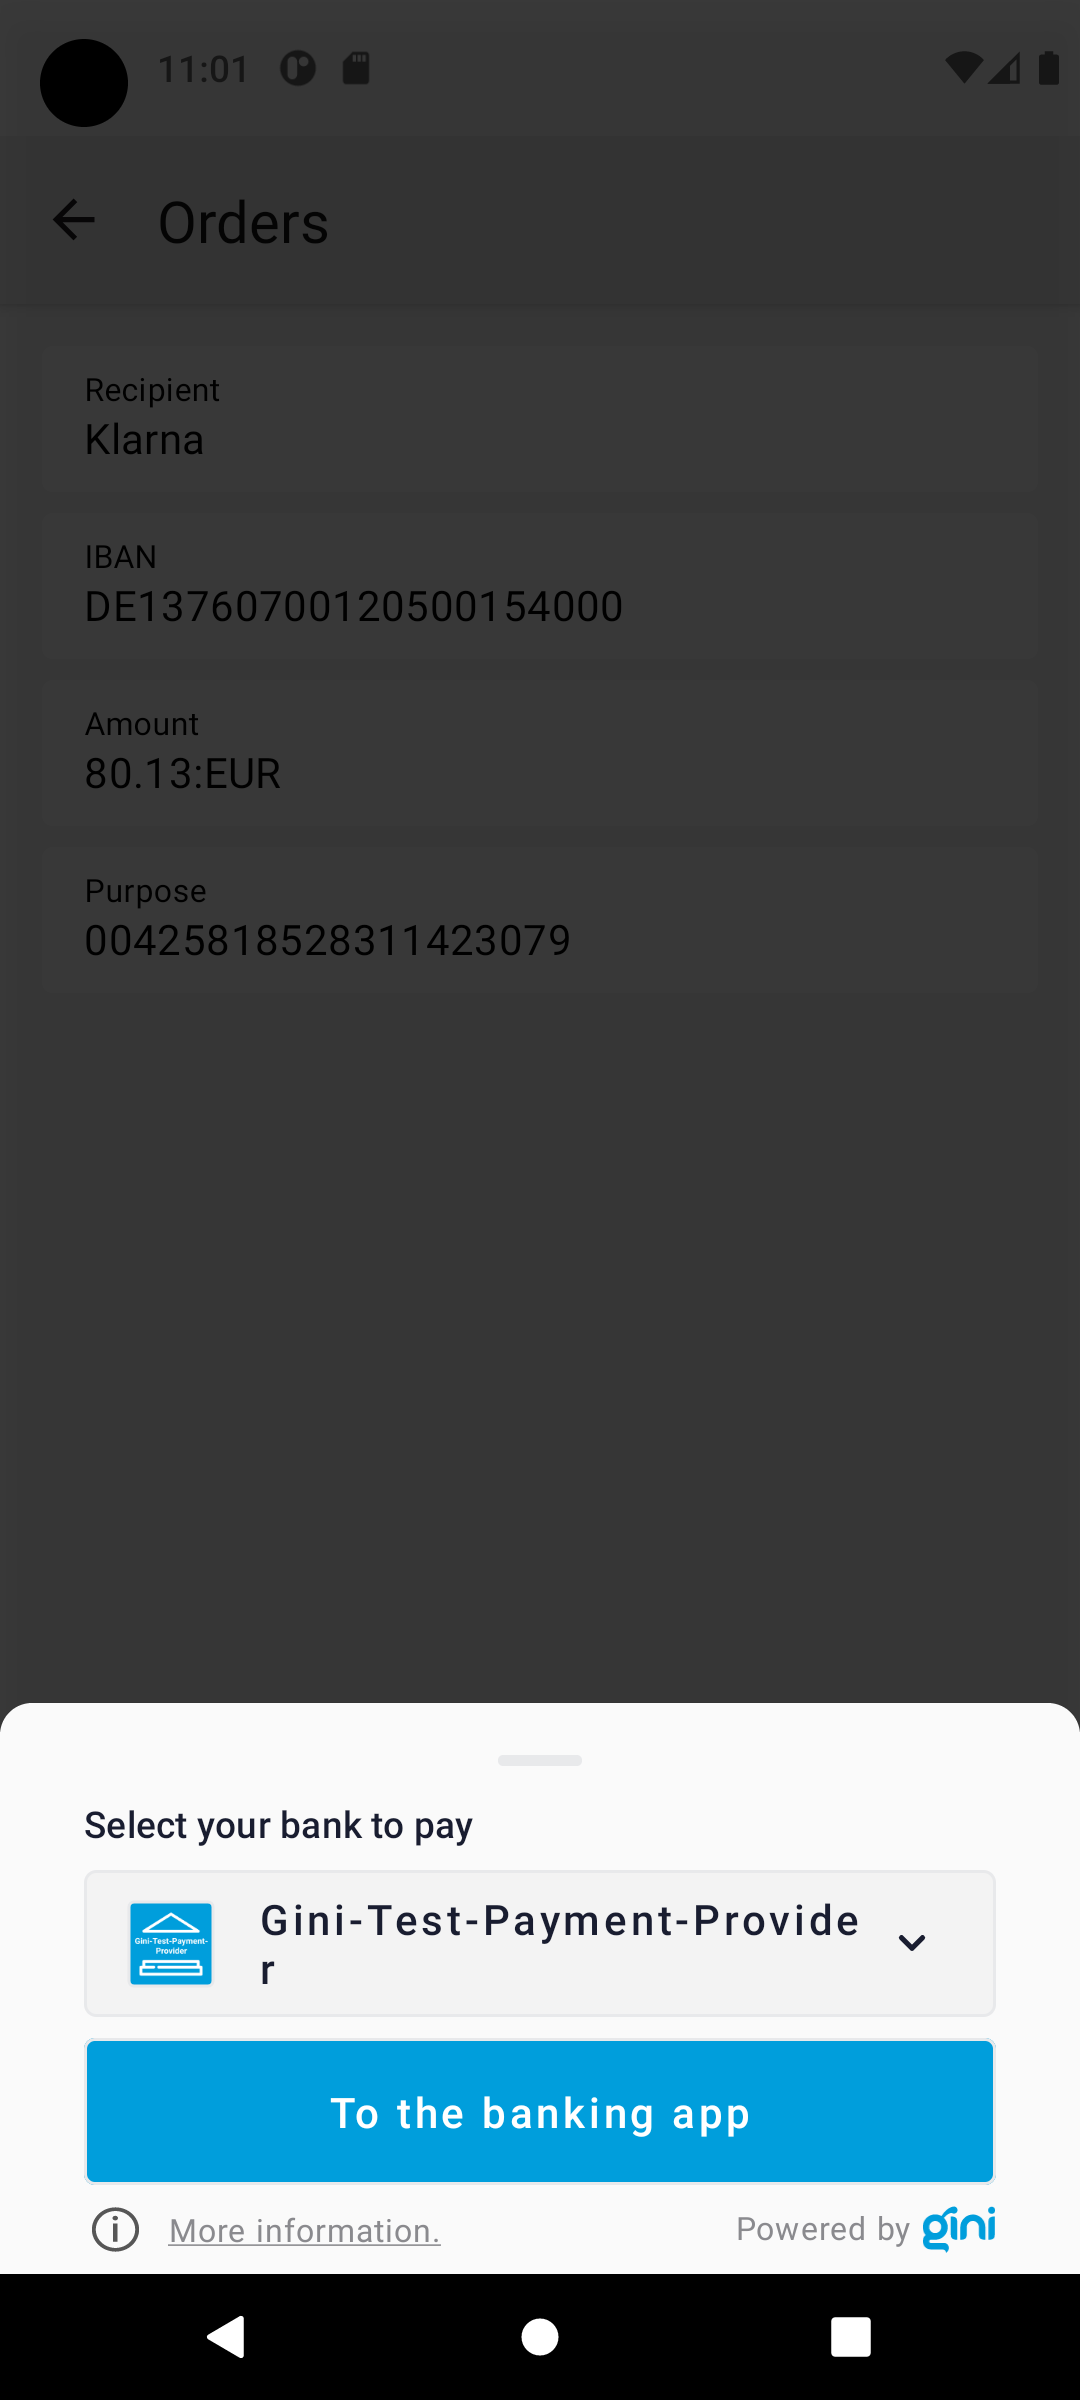
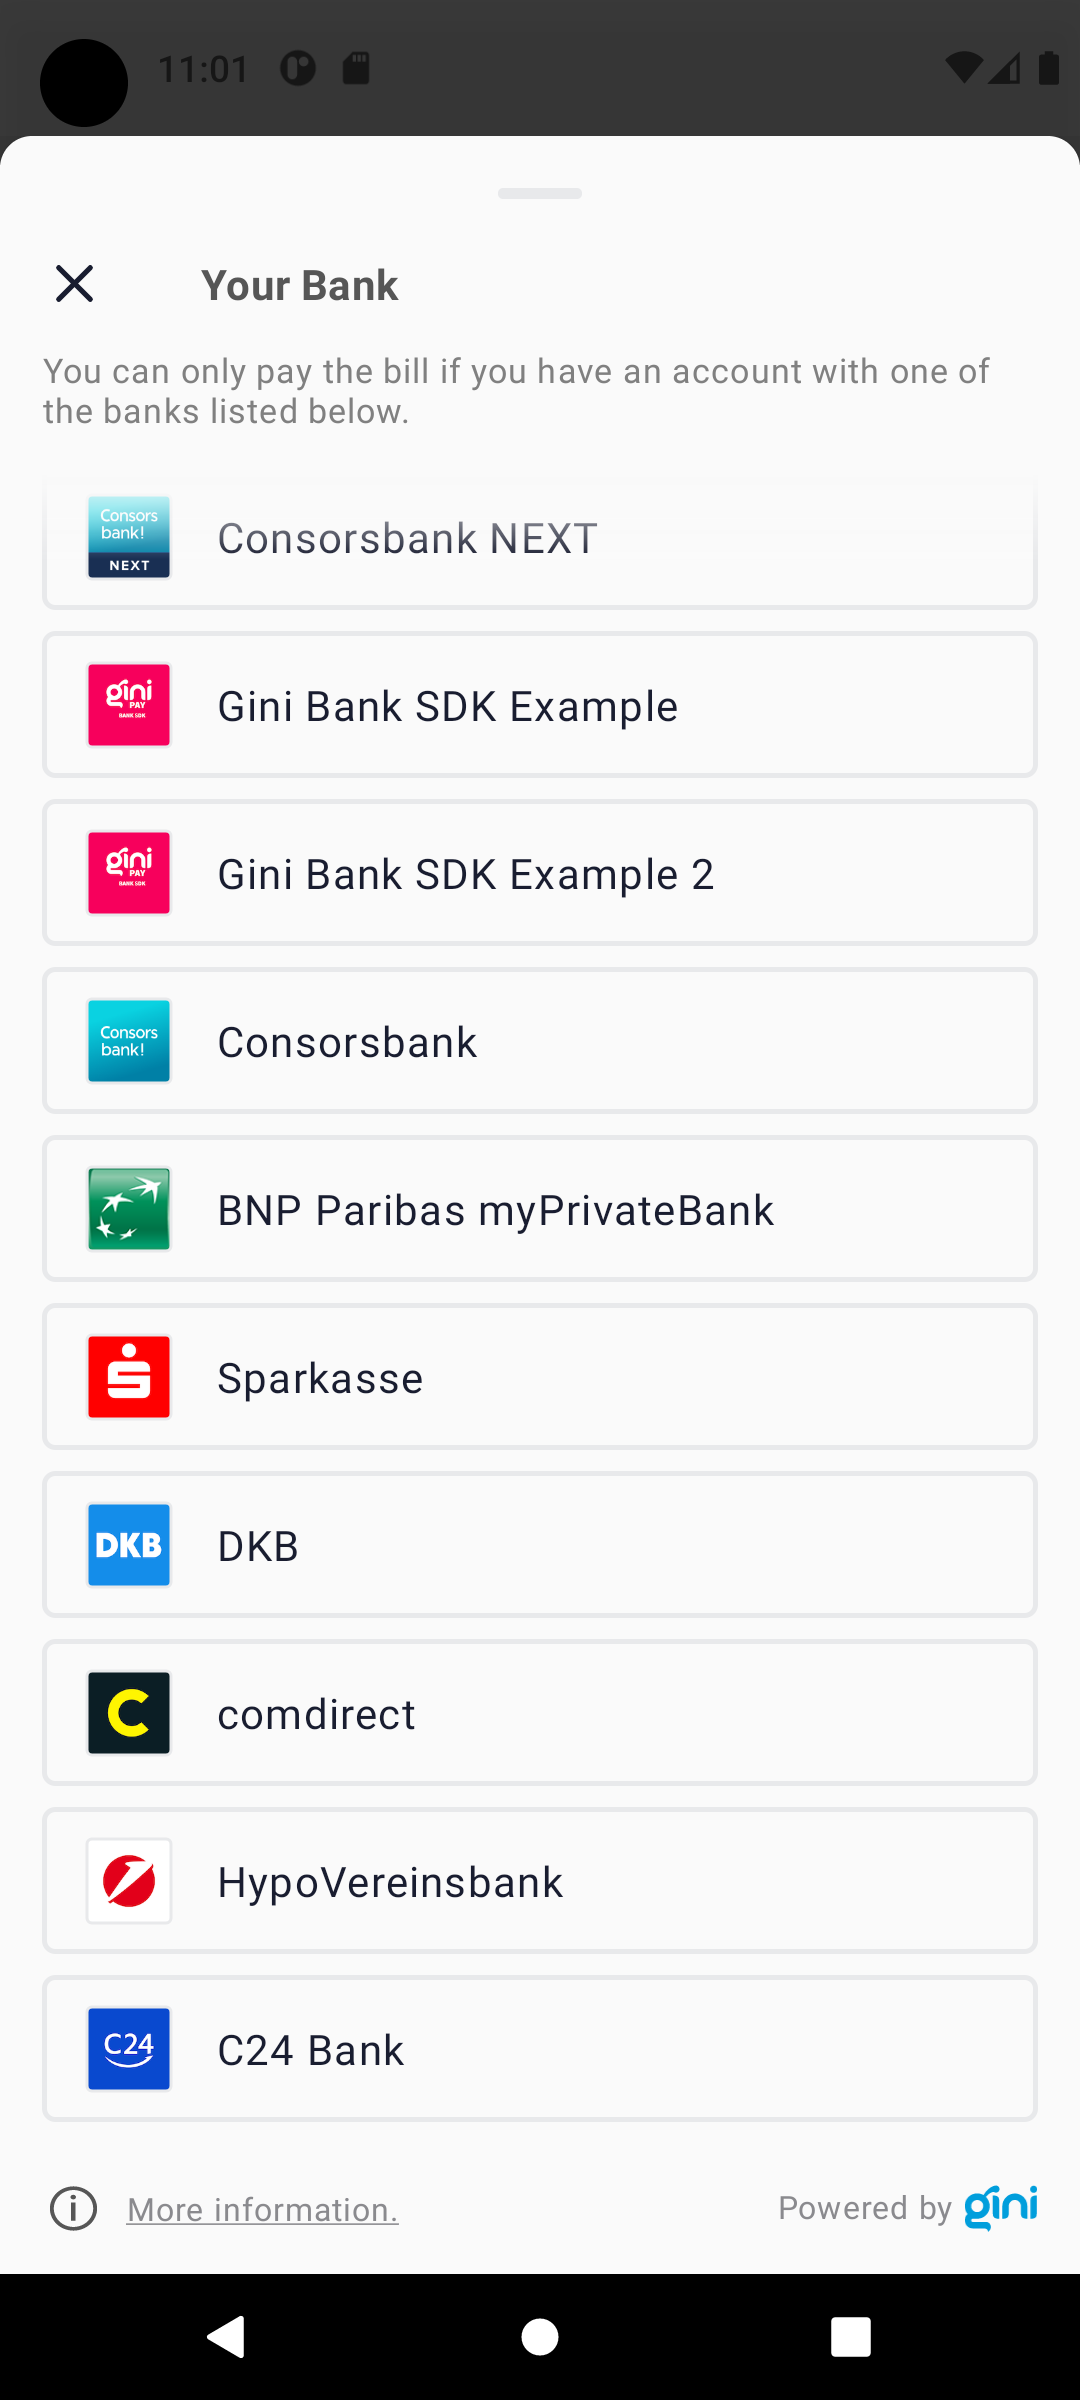
Bank picker
You should see the Gini-Test-Payment-Provider preselected in PaymentFragment everytime when starting the flow. By clicking the picker
you should see the BankSelectionBottomSheet with the list of available banking apps (including
Gini-Test-Payment-Provider and other testing and production apps).
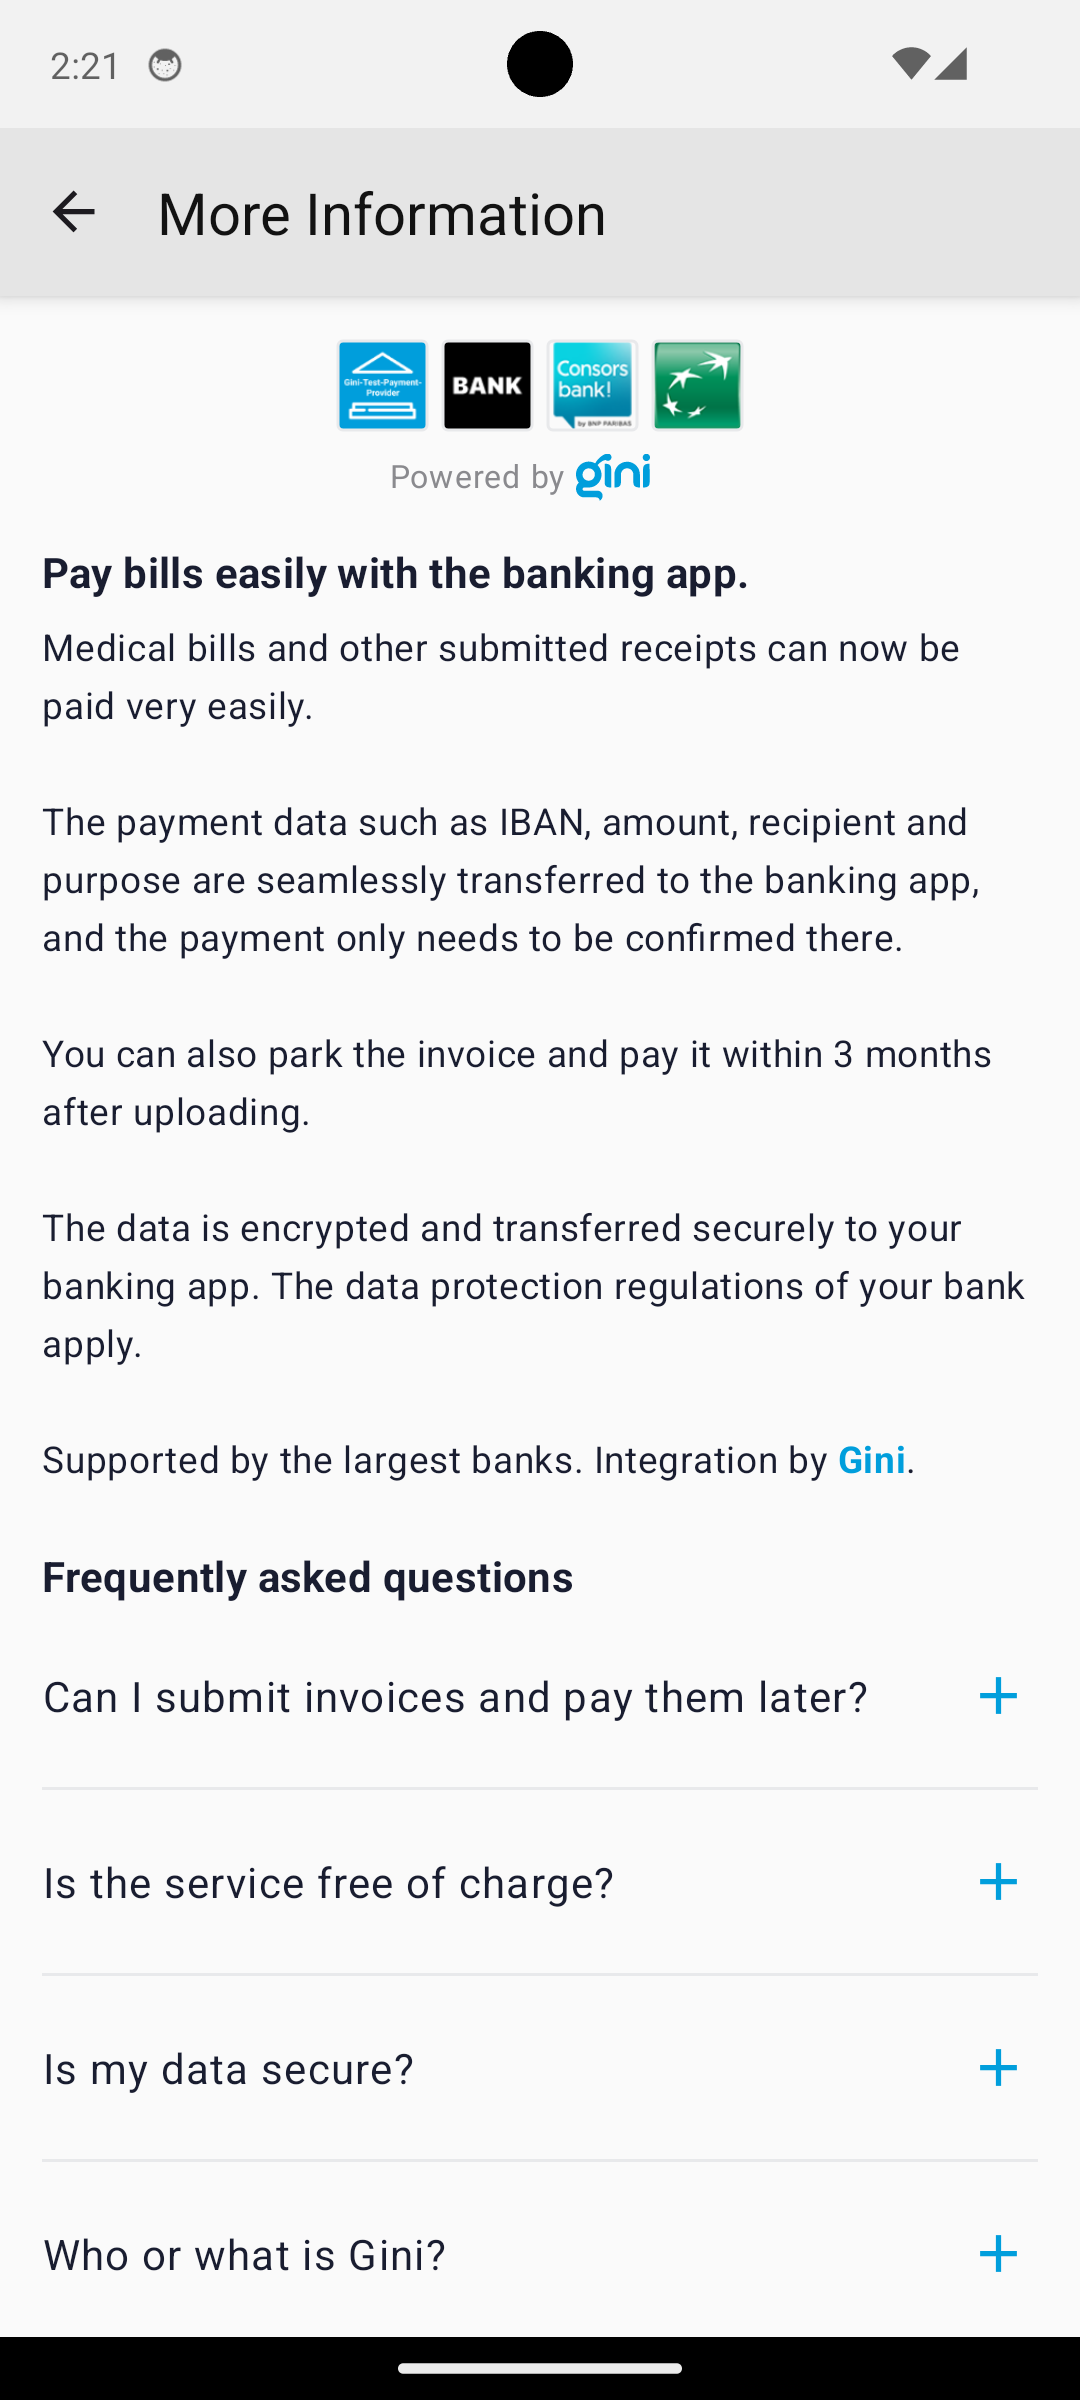
More information and FAQ
By clicking the More information button in BankSelectionBottomSheet you should see the
MoreInformationFragment with information about the payment feature and an FAQ section.
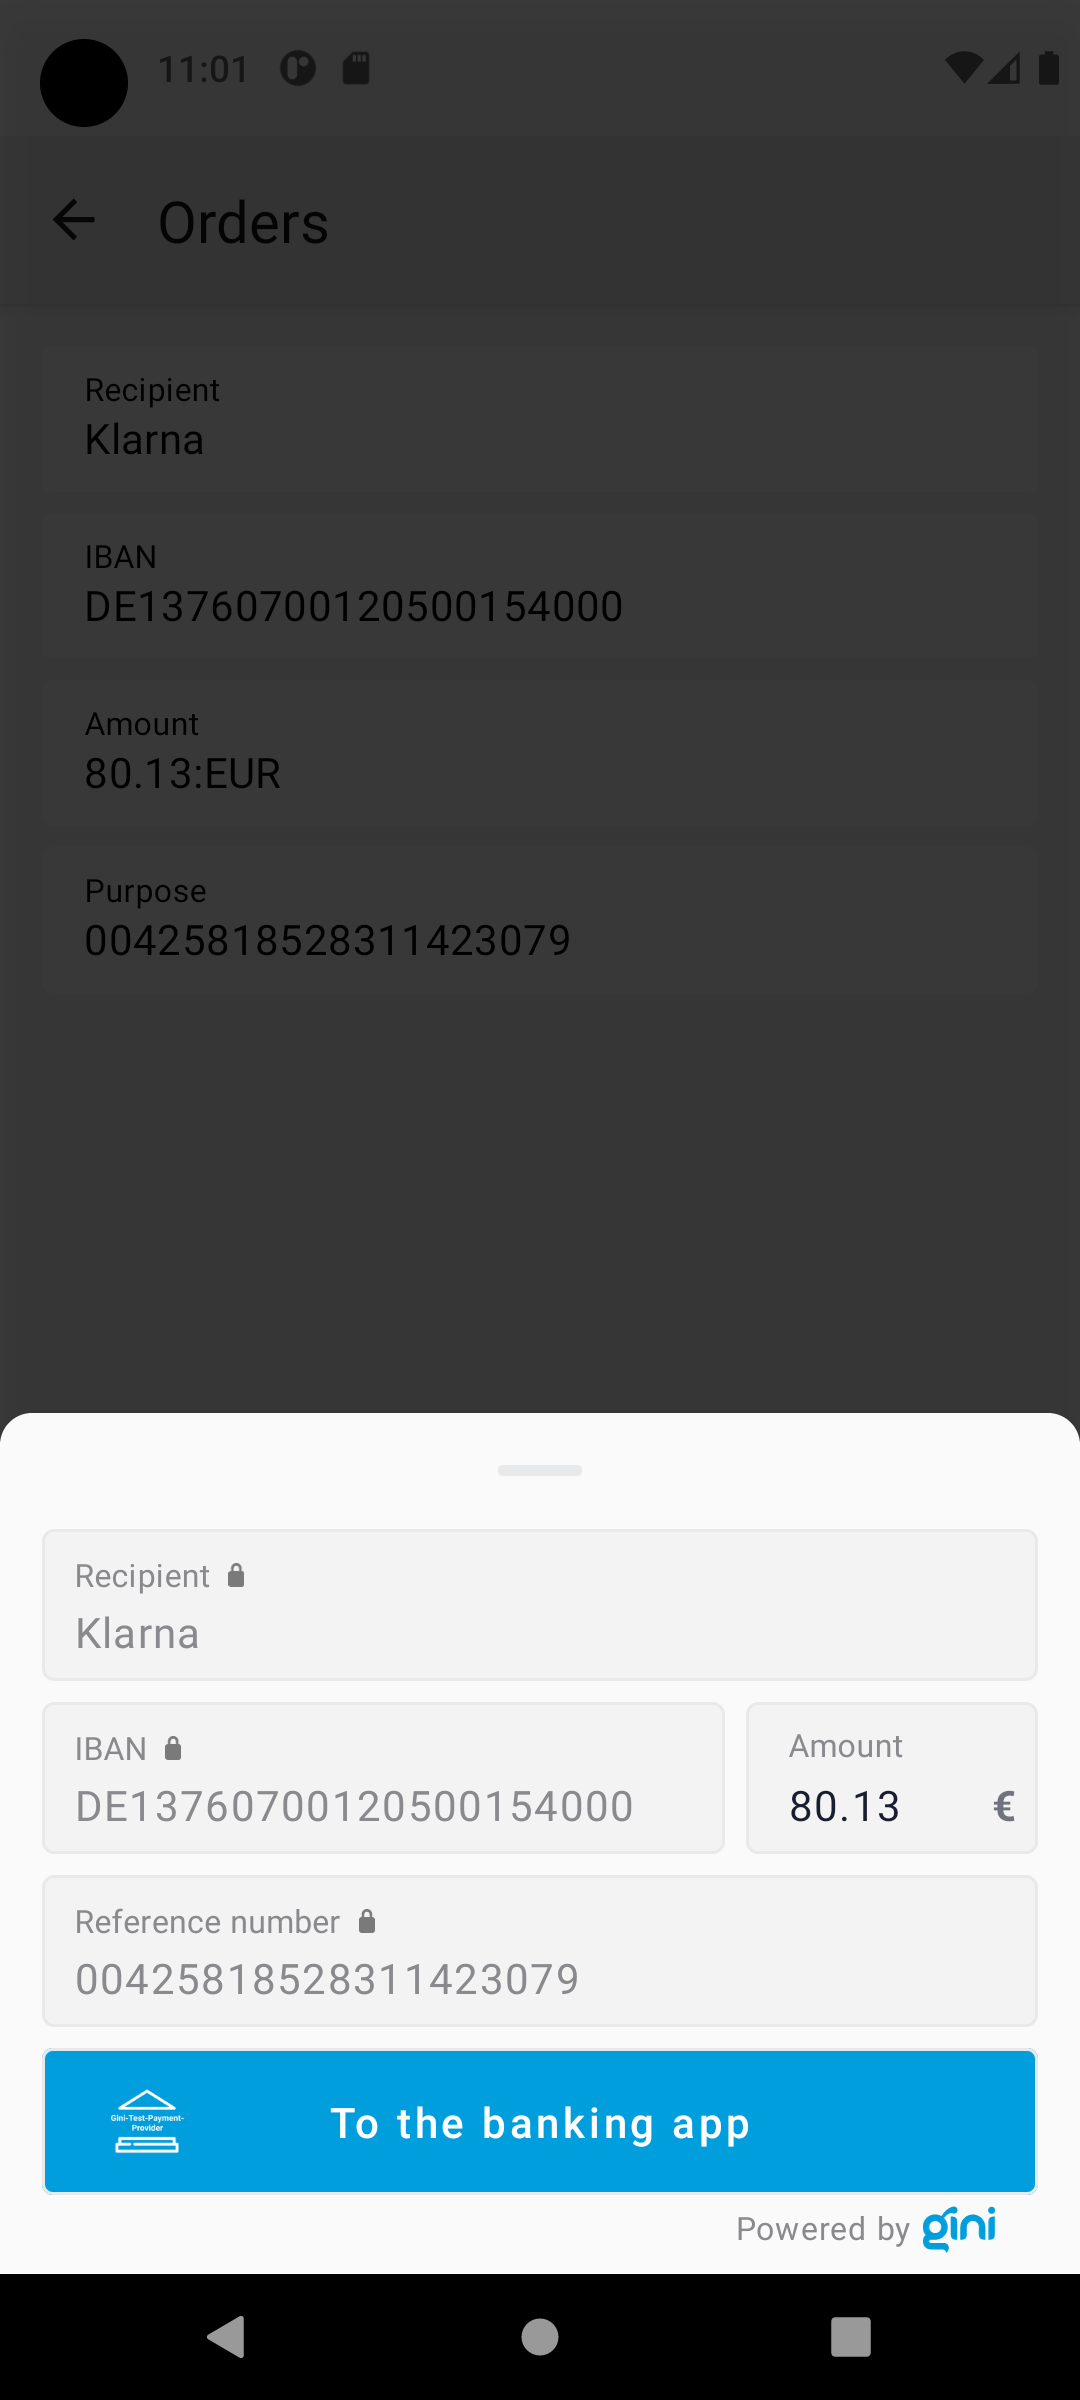
Payment review
If the PaymentFragment was created with an instance of PaymentFlowConfiguration with the showReviewFragment option set to true,
by clicking the “Pay the invoice” button on the PaymentFragment you should see the ReviewFragment. It
shows the payment information. It also allows editing the amount. The “To the
banking app” button should have the icon and colors of the banking app, which was selected in the
BankSelectionBottomSheet.
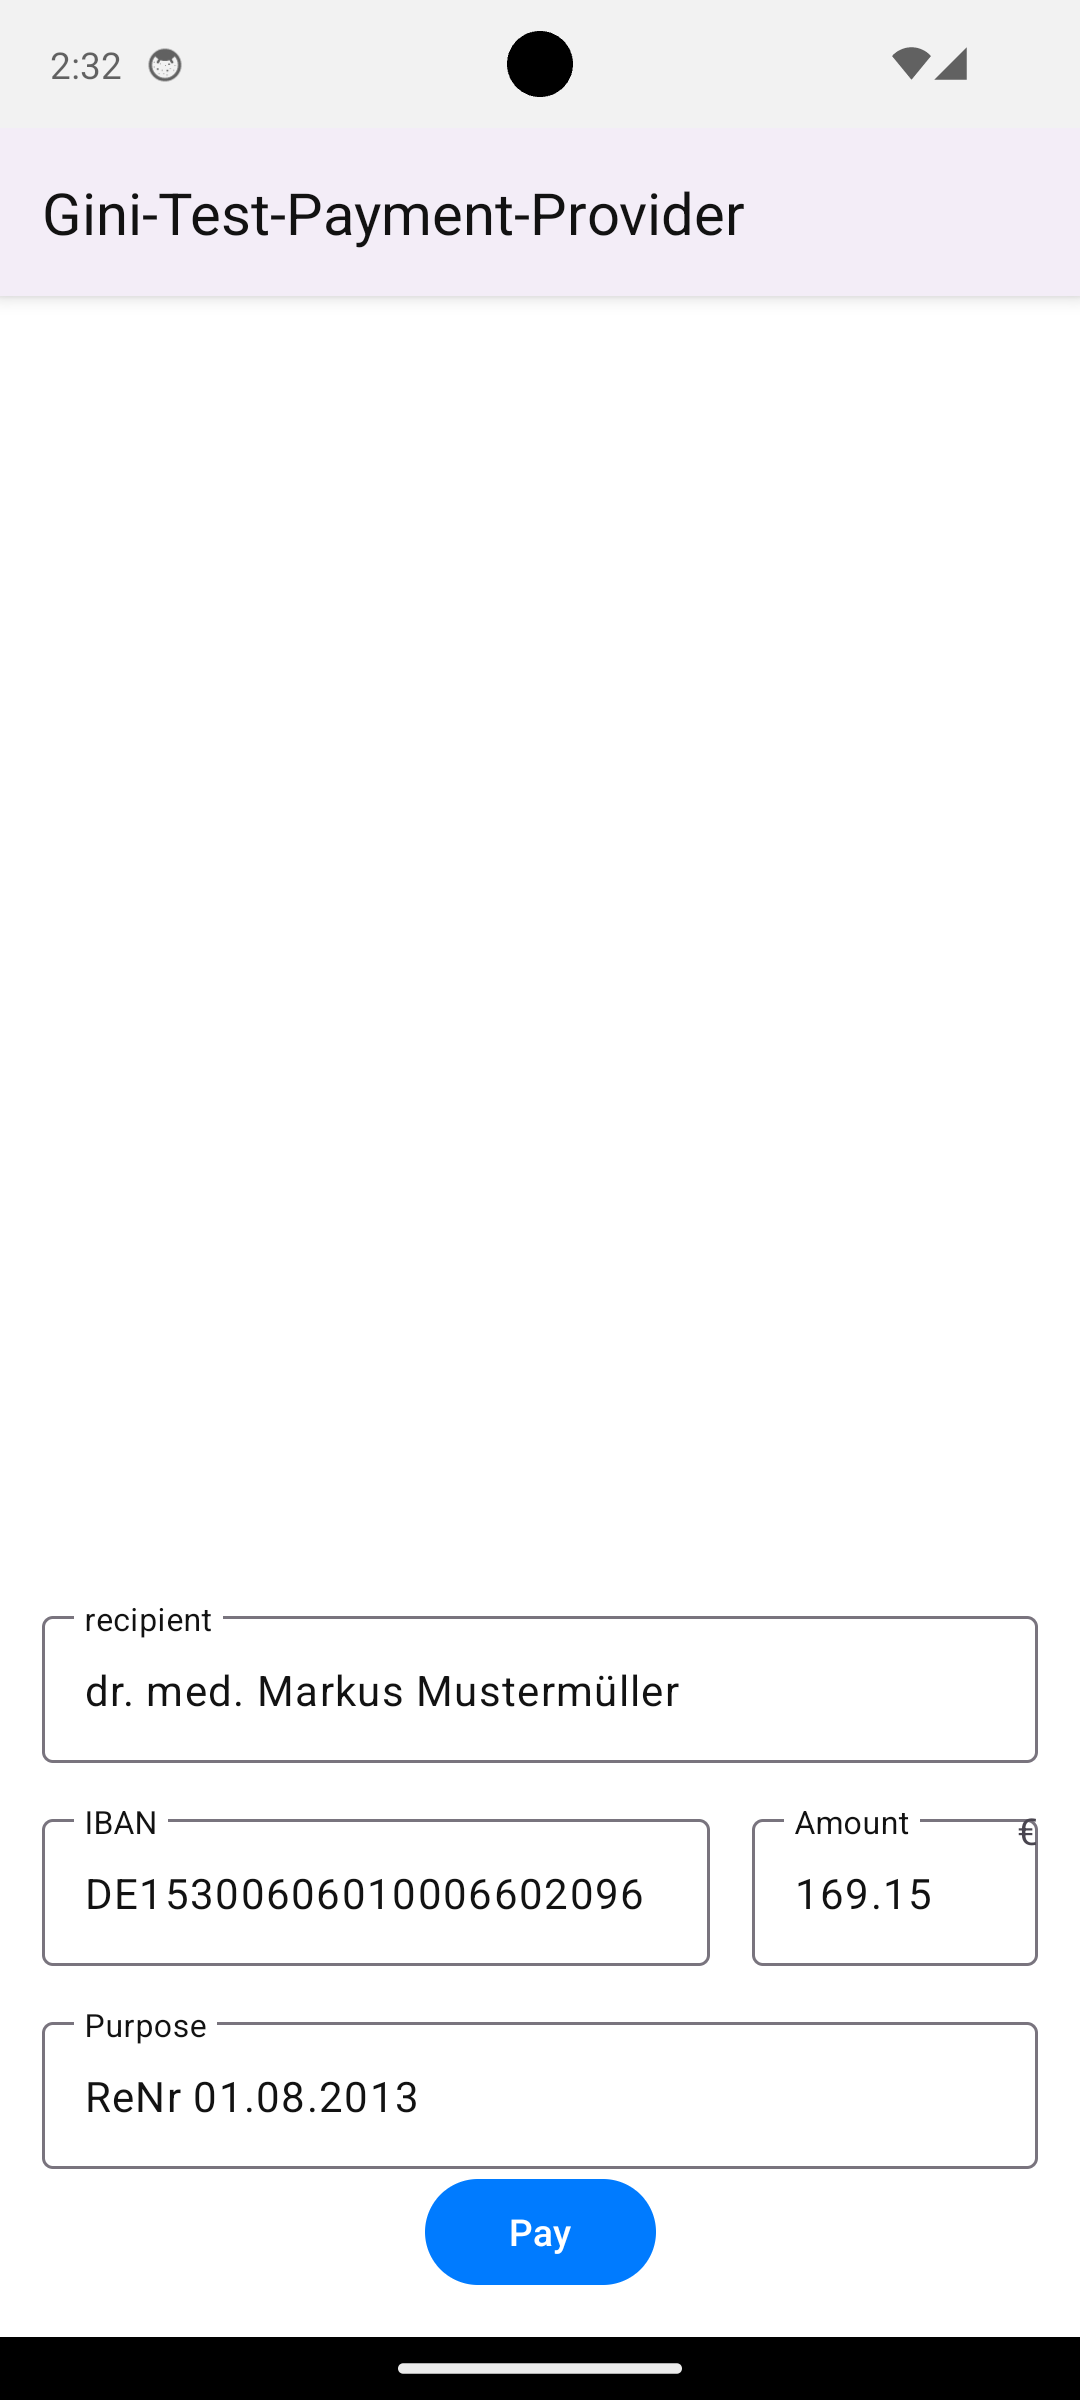
Execute payment
When clicking the “To the banking app” button on the ReviewFragment you should be redirected to the example banking
app where the payment information will be fetched from Gini (including any changes you made on the
ReviewFragment). Press the “Pay” button to execute a test payment which will mark the payment as paid in the
Gini Merchant API.
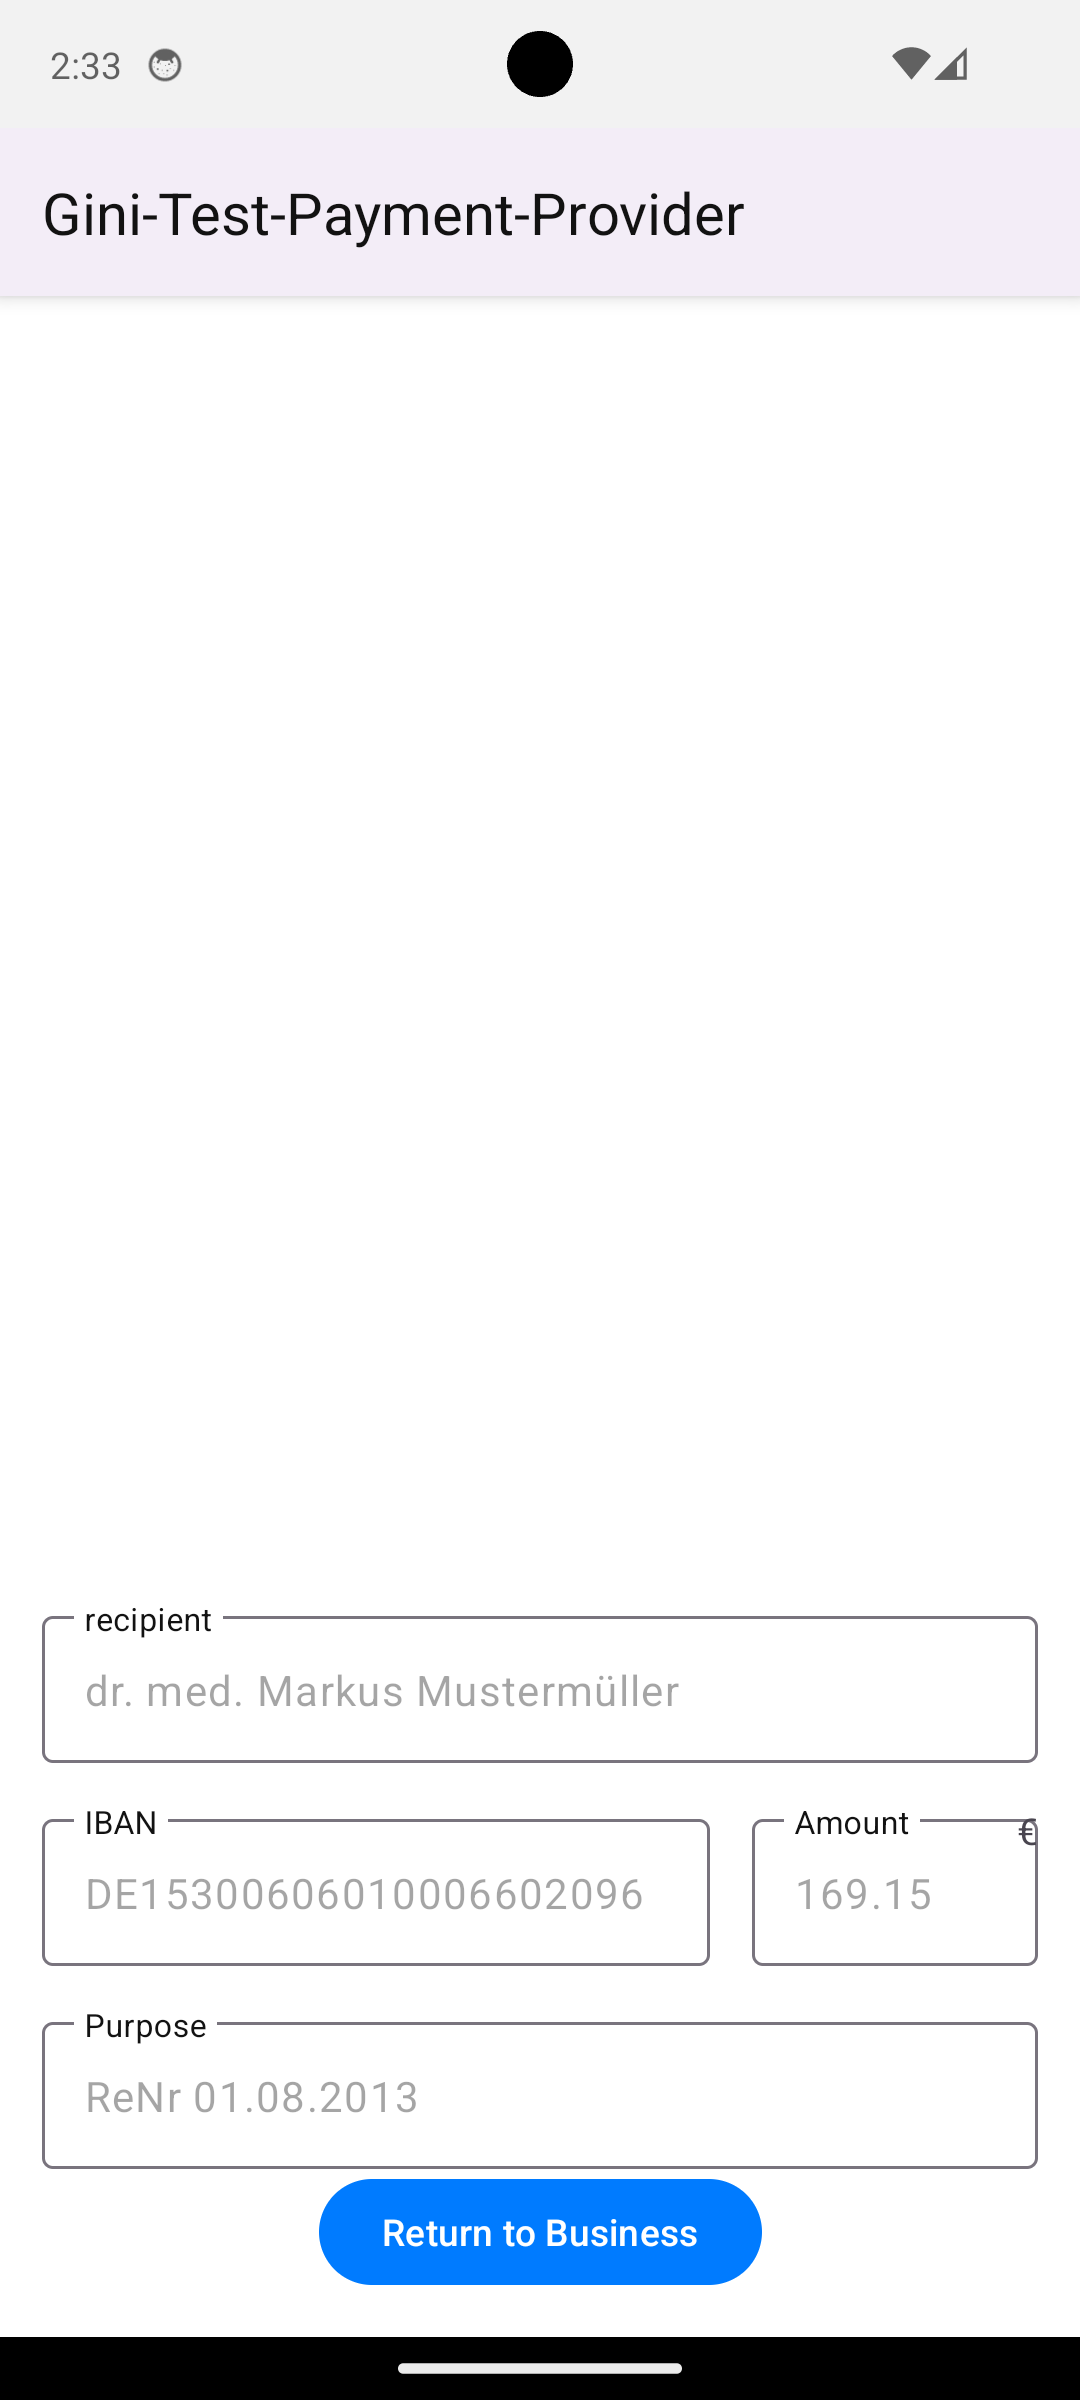
Return to your app
After the test payment has been executed, the example banking app should show a “Return to Business” button which should take you back to your app.
With these steps completed you have verified that your app, the Gini Merchant API, the Gini Merchant SDK and the Gini Bank SDK work together correctly.
Testing in production
The steps are almost the same with the only difference, that instead of the development client credentials you will need to use production credentials in your app. This will make sure the Gini Merchant SDK receives only real payment providers which open real banking apps.
You will also need to install a banking app which uses the Gini Bank SDK. You should be able to install these from the
list shown by clicking the bank picker button in the PaymentFragment.